Overview
Welcome to our handy guide for all you DIY enthusiasts! As we all know, an electric kettle is a household staple appliance. But over time, it may need some care and, perhaps, some repair. Now, what if you could master these repairs yourself?
Well, that’s precisely what we aim to accomplish through this beginner-friendly, step-by-step guide, “How to Repair Electric Kettle At Home”
This comprehensive guide will walk you through common kettle problems and their solutions, post-repair care, and knowing when to call in professional help—an essential read for anyone seeking to extend the life of their trusty kettle.
So grab your toolkit, and let’s unravel the mystery of DIY kettle repair together in a way that’s easy to understand, regardless of your native language or technical expertise.
I. Understanding The Basics of an Electric Kettle
A. Function and Structure of an Electric Kettle
An electric kettle, an essential household appliance, has a simple yet effective function: to heat water quickly and efficiently. The beauty of the electric kettle lies in its simplicity. It appears as an innocuous container with a handle, spout, and lid, typically made of durable plastic, glass, or stainless steel.
However, at its heart lies an ingenious design. When plugged in and switched on, electricity powers a heating element at the bottom of the kettle, rapidly heating the water inside to a boil. Once the water reaches a specific temperature, a thermostat connected to the heating element responds, triggering a mechanism to cut off the power automatically. This automatic shutdown feature prevents overheating and waste of electricity.
B. Essential Components of an Electric Kettle
While an electric kettle may seem simple, several complex components perform intricate operations. These components are vital to its functionality and include:
The Heating Element
The primary component that heats the water is usually concealed at the kettle’s base. Electricity passing through this metal coil generates heat transferred to the water above.
The Thermostat
A critical safety feature, the thermostat is designed to cut off the electricity supply once the water reaches boiling. Some thermostats in advanced kettles allow users to set various temperatures depending on whether they’re making coffee, tea, or simply boiling water.
The Switch
This part controls the flow of electricity to the heating element, and it’s typically found on the kettle’s handle for easy access. Some advanced models have touch-sensitive or even remotely controlled switches.
The Power Cord and Plug
Connects the device to an electric power source. Some models come with detachable cords for added convenience.
C. Common Problems and Reasons behind Electric Kettle Malfunction
Just like any other appliance, electric kettles can malfunction due to various reasons, including:
Power Issues
If your kettle won’t turn on, the problem might lie in the power cord or plug. It could be an internal wire breakage, or the plug might not be properly connected.
Malfunctioning Thermostat
The thermostat might be to blame if your kettle won’t shut off automatically when the water boils. A faulty thermostat could also cause the kettle to heat up slowly or not heat up at all.
Leakages
Over time, the seals of the kettle can wear out and start leaking. The kettle’s body might also develop cracks due to mishandling or constant heating and cooling.
Deposits and Debris
Mineral deposits from hard water can accumulate on the kettle’s heating element over time, affecting its heating efficiency and the taste of the water. Cleaning and descaling regularly can prevent this problem.
Understanding the electric kettle’s basic functionality and structure, its essential components, and the common reasons behind its malfunctioning is the first step in successfully troubleshooting and repairing it at home.
II. Before the Repair: Safety Measures
Embarking upon electric kettle repairs at home requires understanding essential safety precautions. Having the necessary equipment and knowledge to navigate these risks is vital. This section will discuss the importance of power disconnection, basic equipment, and how to manage and avoid potential hazards while repairing an electric kettle.
A. When and Why You Should Unplug: The Importance of Power Disconnection
Disconnecting the electric kettle from its power source is the most crucial safety step before starting any repair. Unplugging the kettle reduces the risk of electrocution, a potentially life-threatening hazard associated with working on electrical appliances. Ensure the kettle is removed from its power base (if it comes with a separate base) or disconnected from the wall socket before attempting DIY repair.
B. The Right Tools for the Job: Discussing Safe and Suitable Repair Equipment
Equipping yourself with the correct tools is critical to ensuring your safety throughout the repair process. Some essential tools you will need while working on electric kettles include:
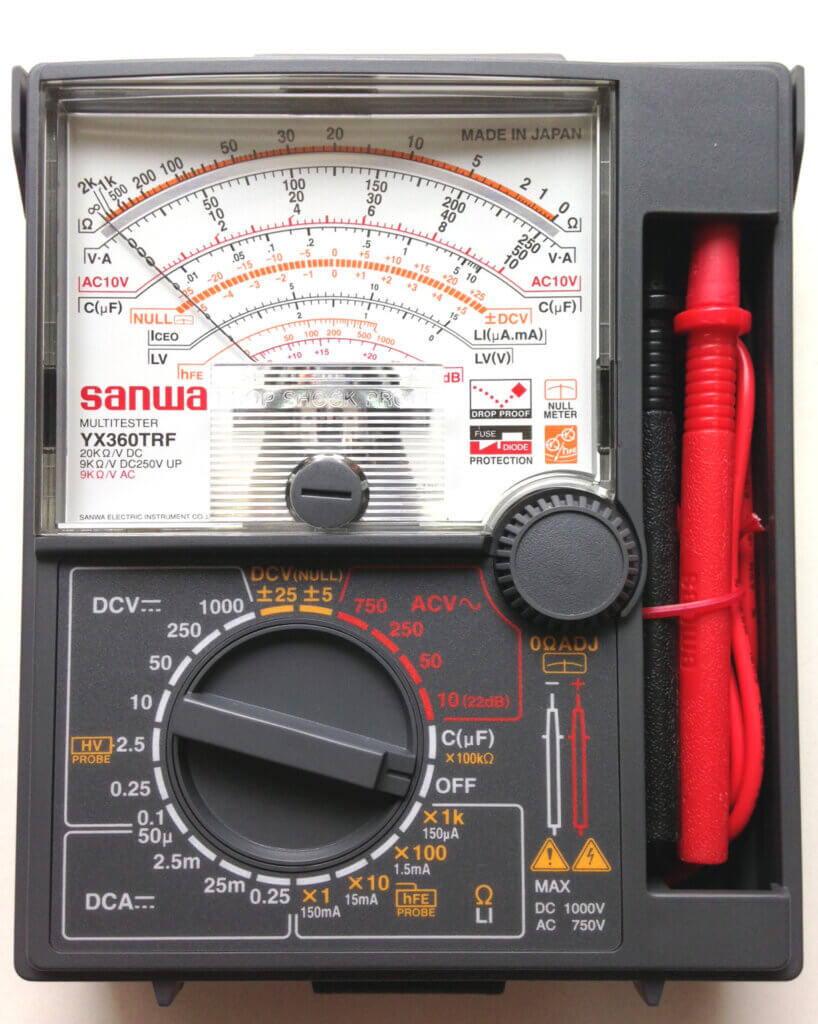
- Multi-tester or multimeter: This tool is indispensable for diagnosing electrical issues, including verifying whether a particular component conducts electricity properly.
- Insulated screwdrivers and pliers: Insulated tools are crucial when working with electrical appliances to minimise the risk of accidental electrical discharge.
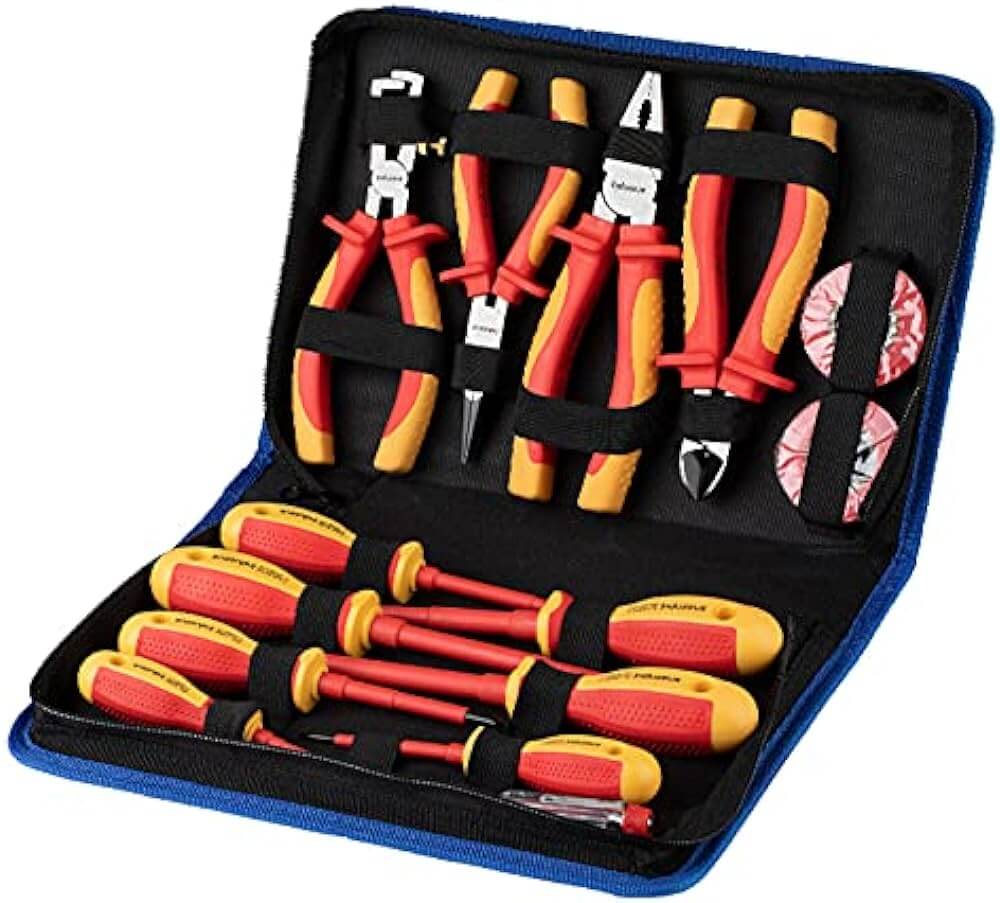
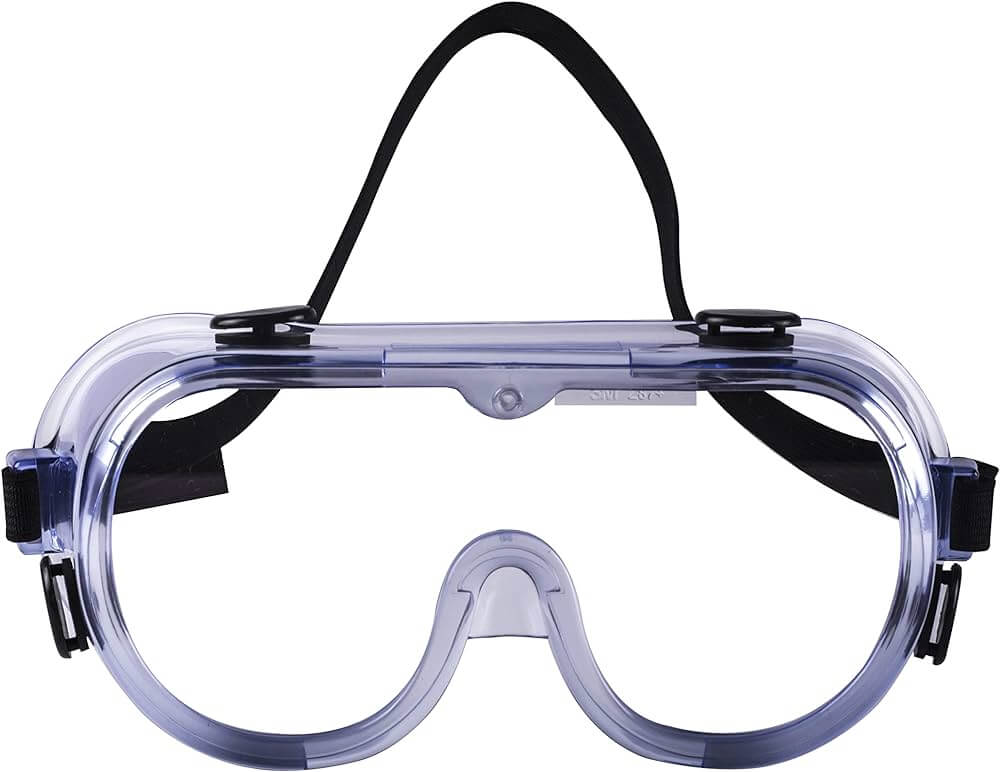
- Safety goggles and insulating gloves: Wearing safety goggles and insulating gloves protects your eyes and hands from potential hazards, such as small debris, sharp edges, or accidental electrical contact.
- Non-conductive work surface: A non-conductive, clean, and organised work area, such as a wooden or plastic table, is essential to mitigate risks when working on electrical appliances.
C. Identifying and Managing Risks: Avoiding Potential Hazards in DIY Electric Kettle Repair
Being mindful of potential hazards can help you avoid accidents while repair electric kettle at home. Here are some tips to help you manage risks during the process:
These safety measures can reduce the risks of repairing an electric kettle at home. Ensure your workspace is organised, dry, and free of potential hazards, and always prioritise your safety above all else.
Would you like to browse few Electric Kettles?
Please click here to get a perfect kettle for your kitchen !!
III. Diagnosing the Problem: Troubleshooting Issues
Troubleshooting is a vital step in successfully repairing your electric kettle. Identifying the issue correctly saves time and helps you apply an efficient solution.
Here, we will discuss solutions to some common electric kettle problems.
Problem: The Kettle Won’t Turn On
The issue could be power-related if your electric kettle doesn’t turn on. First, ensure that the outlet and plug are in good condition and that the power cord has no visible damage. If the kettle still doesn’t turn on, the problem may lie in its power switch or internal connections.
Solutions:
- Check the Power Outlet: Test the outlet using another appliance to ensure it’s working. If it doesn’t work, the problem could be a tripped circuit breaker, a blown fuse, or a faulty wall socket, which might require an electrician’s help.
- Examine the Power Cord and Plug: Look for signs of fraying, burning, or overall wear and tear. Be sure to unplug the kettle before checking.
- Inspect the Power Switch: A faulty switch may fail to engage the heating element. This component should be visually inspected for noticeable signs of damage.
Problem: The Kettle Does Not Heat Up
Suppose your kettle turns on but does not heat up. In that case, the primary suspect is typically the heating element or the thermostat. A malfunctioning heating element may not get hot enough to heat water, and a faulty thermostat may disrupt the heating process.
Solutions:
- Inspect the Heating Element: The heating element, usually found at the bottom of the kettle, could have limescale build-ups, especially in an area with hard water.
- Test the Thermostat: Use a multimeter to test if the thermostat is functioning correctly. If it’s faulty, it will need replacing. Be aware—replacing a thermostat is a bit complex and might require some experience.
Problem: The Automatic Shutdown Feature Does Not Work
Your kettle’s automatic shutdown feature is a critical safety mechanism that prevents the water from boiling dry, causing potential damage or risk. If it’s not functioning, the probable cause is a faulty thermostat.
Solutions:
- Examine the Thermostat: As stated before, you can use a multimeter to check the thermostat’s functionality. A faulty or stuck thermostat can cause the kettle to keep boiling without shutting off.
- Check the Shut-Off Lever: Some kettles have a manual shut-off lever connected to the thermostat. If this lever is loose or broken, it could prevent the kettle from turning off.
Remember, if you cannot identify or resolve the issue yourself, it’s always a safer bet to call in a professional electrician or appliance repair service.
IV. Guide to Repairing Common Electric Kettle Problems
In this section, we’ll delve deeper into the repair electric kettle at home, from electrical faults to heating and mechanical problems.
Remember 😊
Safety should always be your utmost priority when handling these repairs, and anytime you’re unsure or uncomfortable, you should consult a professional.
A. Fixing Electrical Faults: Dealing With Cord And Plug Issues
Electrical issues often result from damaged power cords or plugs. Here are essential steps to handle these issues:
- Inspect the Power Cord and Plug: Check for any signs of fraying, burns, or breakages. You’ll need to replace the whole cord or plug if they exist.
- Replace the Power Cord or Plug: Purchase a new power cord or plug compatible with your kettle model. You can usually find these in appliance repair stores or online.
- Installation: Replace the old cord with the new one, connecting it precisely as the old one was. If you need help, refer to the manufacturer’s manual or consult a professional.
B. Navigating Heating Concerns: Understanding And Addressing Fuse And Thermostat Troubles
Faulty fuses and thermostats often lead to heating issues. Here’s how to address them:
C. Managing Mechanical Problems: Dealing With Leaks, Broken Switches, And Loose Connections
Mechanical issues such as leaks, broken switches, or loose connections can also hinder the proper functioning of an electric kettle. Below are some fundamental steps to address these problems:
If any of these processes seem too challenging or if you are uncertain at any point, feel free to consult a professional. DIY repairs can be both rewarding and cost-effective. Still, your electric kettle’s safety and long-term functionality should always come first.
V. How to Care for Your Kettle Post-Repair
Once you’ve successfully repaired your electric kettle, it’s essential to take care of it to ensure optimal functionality and a prolonged lifespan.
This section will discuss regular cleaning, descaling, energy conservation, and maintenance tips that will help preserve your kettle’s health post-repair.
A. Keeping it Clean: Tips on Regular Cleaning & Descaling
Regular cleaning and descaling are crucial to maintaining your kettle’s efficiency and performance. Here’s a quick guide to keeping your kettle in top condition:
How to Descale your Electric Kettle?
- Fill it with a 1:1 solution of water and white vinegar.
- Boil the solution and switch off the kettle.
- Leave the solution in the kettle for 15-20 minutes.
- Rinse the kettle thoroughly with water.
Perform these cleaning and descaling steps at least once a month; however, depending on your water’s hardness, you may need to do it more frequently.
B. Conserving Your Kettle: Energy Conservation Hacks
Using your kettle responsibly and efficiently can save energy and prolong its life.
Here are some tips to conserve energy while using your electric kettle:
C. Maintaining Your Kettle: Ensuring the Longevity of Your Electric Kettle’s Life
In addition to cleaning and energy conservation, regular maintenance is necessary to keep your kettle running efficiently. Here are some tips to maintain your kettle:
Following these care and maintenance tips, you can enjoy an efficient, safe, long-lasting electric kettle even after repairs.
VI. When to Call a Professional
While DIY repairs can be satisfying and cost-effective, there are cases when enlisting a professional is the best course of action.
In this section, we’ll discuss when expert help is needed, how to find a reliable electrician or appliance repair specialist, and tips on effective communication to ensure a satisfactory outcome.
A. Recognising the Limits of DIY: When Is Professional Help Needed?
Although electric kettles are generally simple appliances, there are instances when a DIY attempt may need to be safer and more effective. Here are some situations that warrant professional assistance:
- Technical Complexity: You should call a professional if a repair involves intricate electrical work or disassembling numerous components.
- Safety Concerns: Whenever you encounter live wires or other potential hazards, leaving it to the experts with the necessary tools and experience is better.
- Lack of Confidence: If you doubt your ability to repair successfully, hiring a pro is safer and more efficient.
B. Finding a Competent Electrician or Appliance Repair Expert
When fixing electrical appliances, a reliable expert can make a difference. Here are a few tips for finding the right person for the job:
- Research and Recommendations: Ask friends, family, or neighbours for personal recommendations. Alternatively, search online to find highly-rated electricians or appliance repair experts.
- Check Reviews and Ratings: Review previous clients’ feedback to gauge the professional’s work quality, punctuality, and price appropriateness.
- Verify Credentials: Ensure the professional is licensed, insured, and holds relevant certifications. This will provide peace of mind and protect you from any liabilities.
C. Tips on How to Communicate the Issue to the Professional Effectively
Effective communication is essential in ensuring your repair is handled smoothly and efficiently. Follow these tips for communicating with your chosen professional:
- Describe the problem Clearly: Take the time to explain the issue in detail, including when it started, any symptoms, sounds, or smells that accompanied the problem, and any steps you have already taken to repair it.
- Provide Make and Model Information: The make and model of your electric kettle can help the professional determine potential issues more quickly and may inform them if they need specific replacement parts to complete the repair.
- Inquire About Process and Costs: Once you’ve explained the problem, request an explanation of the repair process, a rough time estimate for completion, and an approximate cost. This will help set expectations and avoid misunderstandings.
Finding the right professional and communicating effectively can ensure a successful, safe, and satisfactory repair. So, confidently turn to the pros when DIY repairs aren’t possible.
Conclusion
In summary, repairing your electric kettle at home can be a feasible and cost-effective option when you encounter issues with your appliance. This “How to Repair Electric Kettle At Home” guide provides step-by-step instructions on how to service your electric kettle carefully and efficiently. Remember the importance of safety precautions while repairing any electronic device. For further recommended repair kits and tools, check out our affiliate links.
It’s worth knowing simple repair solutions that save you time and money. Yet, if these necessary repairs seem too overwhelming or the problem persists, seeking professional help is always recommended.
Get your kettle back to boiling with this easy-to-follow approach, and may your future mornings be warmed by your trusty electric kettle. For more how-to guides, tips, and home gadget repair resources, bookmark our blog and visit us regularly.
Remember, a home maintenance skill like this is a life-saver during unexpected breakdowns and a genuinely satisfying DIY challenge!
This blog site has interesting reviews and buying guides of other Kitchen Appliances like Coffee Machines, Wet Grinders, Electric Kettles, Mixer Grinders, Food Processors , Oven Toaster Grills, Dishwashers. You can always visit them for an interesting read.
FAQs
Can I repair my electric kettle at home using this guide?
Yes, this article aims to provide a user-friendly guide to help you repair your electric kettle at home. The step-by-step instructions are straightforward to understand. Still, keep in mind that if the problem with your kettle seems too complex, seeking professional help is advised.
What safety precautions should I consider while repairing my electric kettle?
Firstly, make sure you unplug the electric kettle from the wall socket to avoid the risk of electric shock. Secondly, allow the kettle to cool down entirely to prevent burns while working on it. Lastly, always use the right tools and protective gear, like gloves, to ensure a safe repair process.
How do I know if my electric kettle can be repaired or needs replacement?
Minor issues such as broken switches, frayed cords, or clogged filters can be easily repaired on most models. However, if your kettle has recurring problems and significant damages or is beyond its warranty period, investing in a new one could be wiser.
Can I use these repair tips for all electric kettles?
While this guide covers standard repair methods and precautions for most electric kettles, some specific models may have unique components or design differences. It’s essential to consult your electric kettle’s manual and contact the manufacturer for specialised instructions if necessary.
Do I need any specific tools or repair kits to fix my electric kettle at home?
Most of the repairs mentioned in this article can be done using standard household tools such as a screwdriver, pliers, and cleaning supplies. However, if you require replacement parts, finding the right components compatible with your kettle’s model is essential. Be sure to check our affiliate links for recommended repair tools and kits.
Besides DIY repairs, are there other ways to prolong the life of my electric kettle?
Yes, regular maintenance, such as cleaning and descaling your kettle and avoiding overfilling, can help prolong its life by preventing the build-up of deposits and wear on components. While it’s essential to know DIY repairs, appropriate upkeep will reduce the need for fixes in the first place.